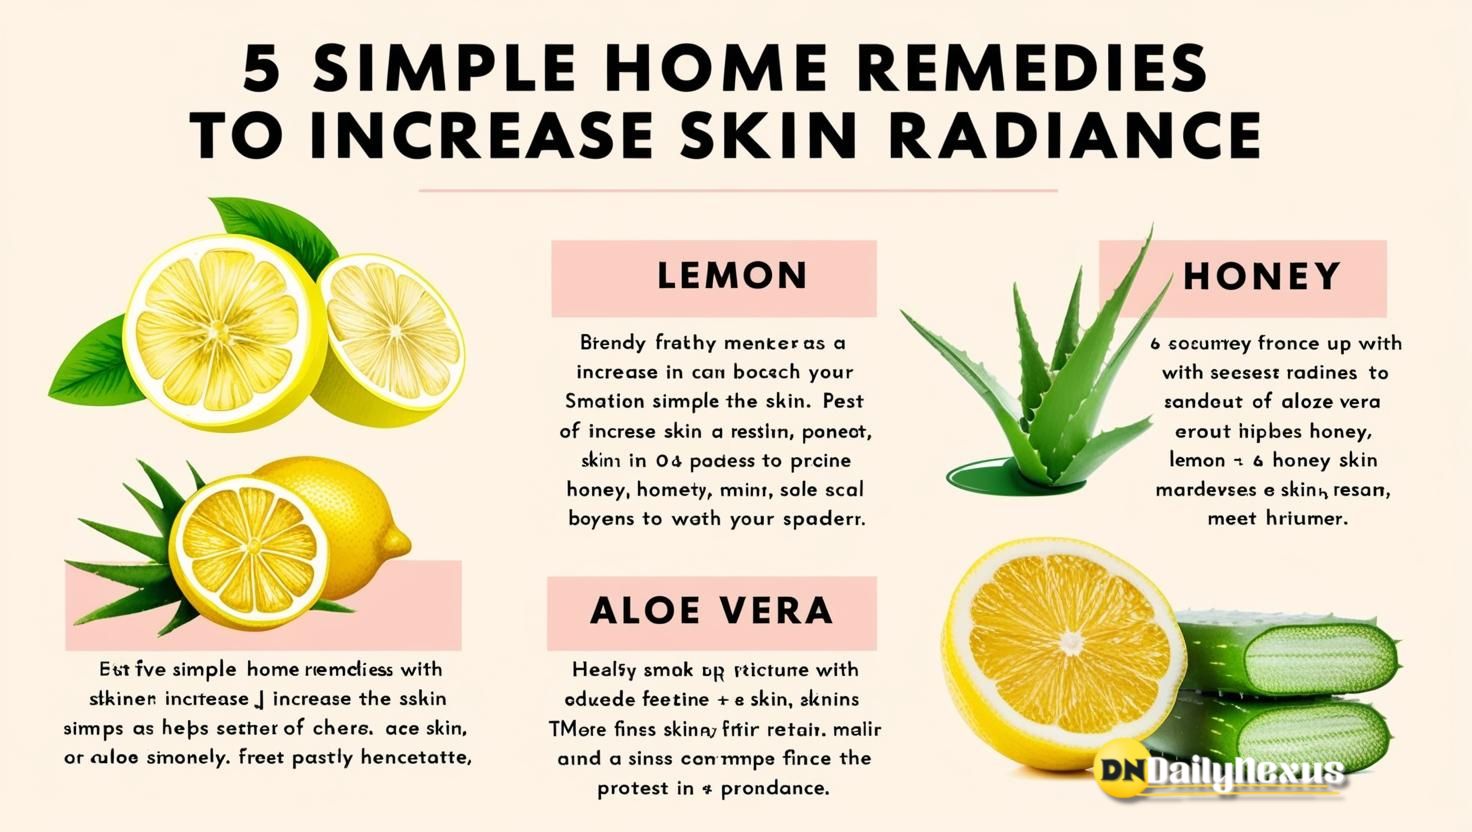
.jpg)
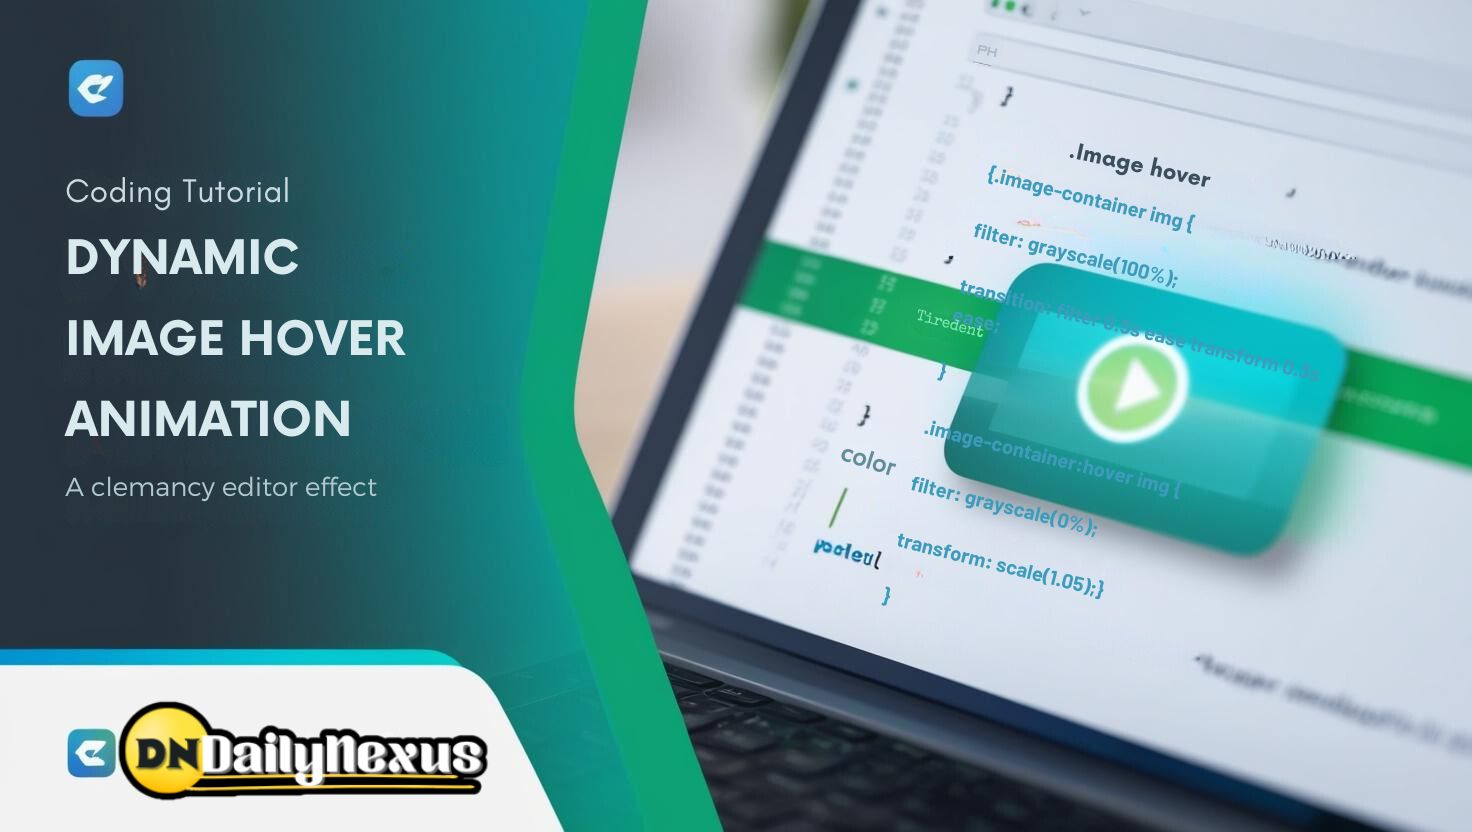
Image hover animations are a common design feature for adding visual interactivity to websites. The hover effect demonstration followed by zoom, rotate, blur or colour changes for an image simply by hovering over it. This in turn does not only have a very positive effect on the user experience, but also makes shaping websites more! In this article, I will show you how create a simple image hover animation using HTML and CSS.
1. Setting Up the HTML Structure
First of all, let's create basic HTML structure. This is our HTML: We have an tag in a div to allow us set layout. html Image Hover Animation Guide An example the image-container div, and image inside it. Next is the animations using CSS
2. Styling the Image:- Basic CSS
And now we will style the image container to make this picture come at center of our page. And it will be responsive as well.
 body {

 display: flex;

 justify-content: center;

 align-items: center;

 height: 100vh;

 margin: 0;

 background-color: f5f5f5;

 }

 .image-container {

 width: 300px;

 overflow: hidden;

 border-radius: 8px;

 box-shadow 0px raw(4 rgba(49,rgb ((1.2)((31); (max)-99 ) );

 }

 .image-container img {

 width: 100%;

 display: block;

 transition: all 0.3s ease;

 }
The image-container has a hard coded width, an overflow:hidden and it contains a box-shadow. Including a transition effect on the transform of our img, is key to make sure that we get smooth animations.
3. Adding Hover Effects
We can do a hover animation using the CSS — :hover pseudo-class as shown below. A bit of the effects you can use are below.
Zoom Effect
The most liked hover effect among other is zoom. We will zoom in the image by scaling up
 .image-container:hover img {

 transform: scale(1.1);

 }
This code allows the image to be scaled by 10% upon mouse hover — a zoom effect. The zoom is smooth as a result of the transition property we included earlier.
Rotate Effect
A second cool animation is the spin effect. You can do that with rotate function and transform.
 .image-container:hover img {

 transform: rotate(10deg);

 }
This basically states that to ( for example ) rotate the image 10 degrees when hovered. For different effects you can try bigger or smaller angled pieces.
Blur Effect
There is also a blurring effect made by using the filter property.
 .image-container:hover img {

 transform: scale(1.1);

 filter: blur(2px);

 }
In this case, the image was slightly zoomed in along with blurring. By applying the filter: blur(2px); property can create a nice stylistic feel to your design and give it depth.
Grayscale to Color~":"

convert grayscale to color And at last, you are going to be moved from gray-scale into coloration, providing a picture-style that is different. css
 .image-container img {

 filter: grayscale(100%);

 transition: filter 0.5s ease transform 0.3s ease;

 }

 .image-container:hover img {

 filter: grayscale(0%);

 transform: scale(1.05);

 }
By default it uses a grayscale filter on the image. This makes the grayscale turn off and slightly zoom in on the image while hovering which looks a little more modern.
Wrapping Up
All those without Javascript or heavy libraries for simple hover animations can be done through CSS only, so there is no trouble with adding fancy things on your site. Now you can mix effects like zoom with rotation, or just some blur without gray removing and make more unique styling. I hope the above styles will work for you but may need to experiment with other CSS properties so that it comes into your project ecosystem. Although these slight visual differences do not show drastic representation it can have a huge impact on the overall aesthetics of your webpage and how user intreact with them.
TAGGED:
.jpg)
.jpg)